
How to Create Durable and Realistic Props Using Resin and Fiberglass: A Step-by-Step Guide for Film and Theater Makers
Making durable and realistic props can be a fun and rewarding project. Resin and fiberglass are popular materials for prop makers. They allow for creating strong, lightweight items that look like the real thing.
Resin and fiberglass props can last for years with proper care. These materials are tough enough to withstand regular handling. They also hold paint well, letting artists add fine details.
Props made from resin and fiberglass have many uses. They're great for theater, cosplay, and film productions. Hobbyists also enjoy making decorative items or replicas. With some practice, anyone can learn to craft amazing props using these versatile materials.
Materials Overview

Creating durable and realistic props requires the right materials. Resins, fiberglass, and safety gear form the foundation for successful prop making. Choosing quality materials ensures props that last and look authentic.
Types of Resin
Epoxy resin is popular for prop making. It's strong, clear, and resistant to yellowing. Polyester resin is cheaper but can have a strong odor. Urethane resin cures quickly and is good for casting.
Silicone resin works well for flexible parts. Each type has pros and cons. Epoxy is versatile but takes longer to cure. Polyester is fast but less durable. Urethane is tough but can be tricky to work with.
Consider the prop's needs when picking a resin. Think about cure time, strength, and finish. Some resins need special handling or ventilation.
Choosing Fiberglass Materials
Fiberglass cloth comes in different weaves and weights. Chopped strand mat is good for building up layers. Woven roving adds strength to large areas.
E-glass is the most common type. It's strong and affordable. S-glass is stronger but costs more. Carbon fiber is very strong and lightweight but expensive.
Match the fiberglass to the project's needs. Lighter fabrics work for small props. Heavier materials suit large or high-stress items. Some fabrics are easier to shape around curves.
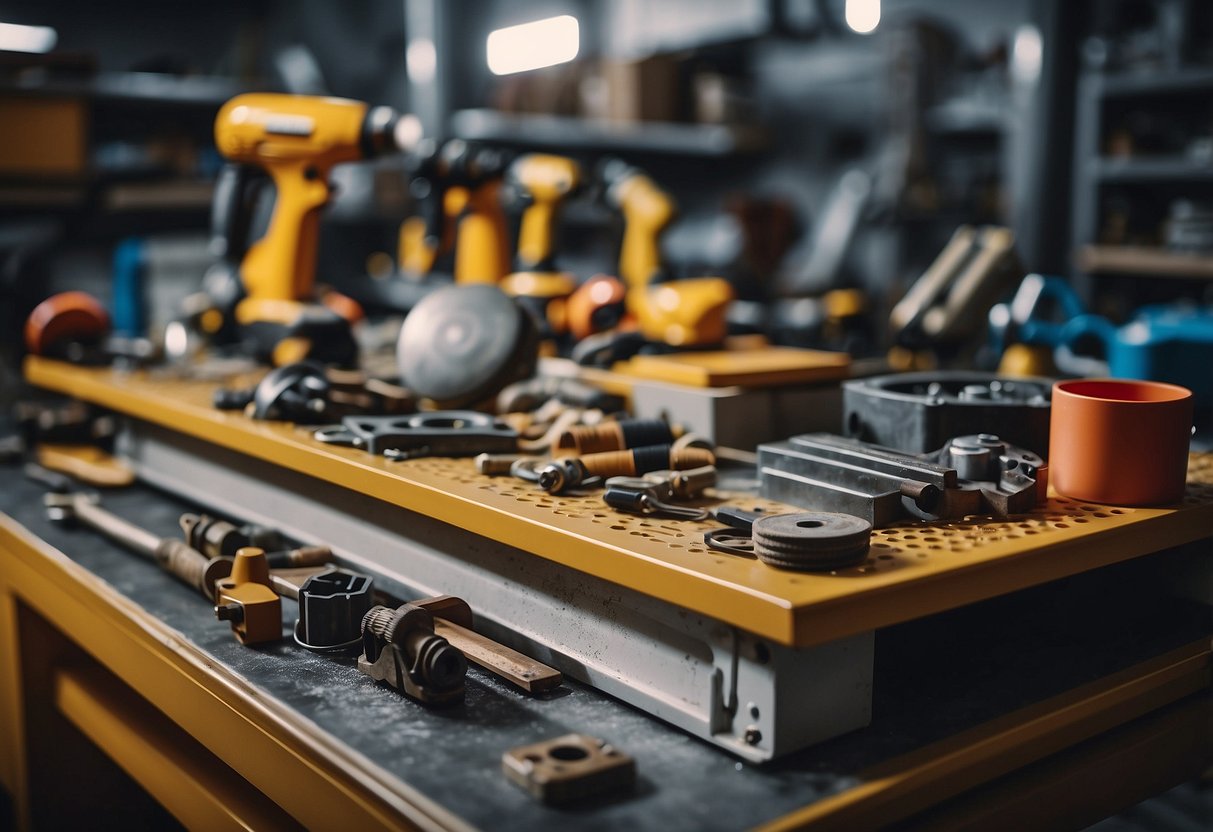
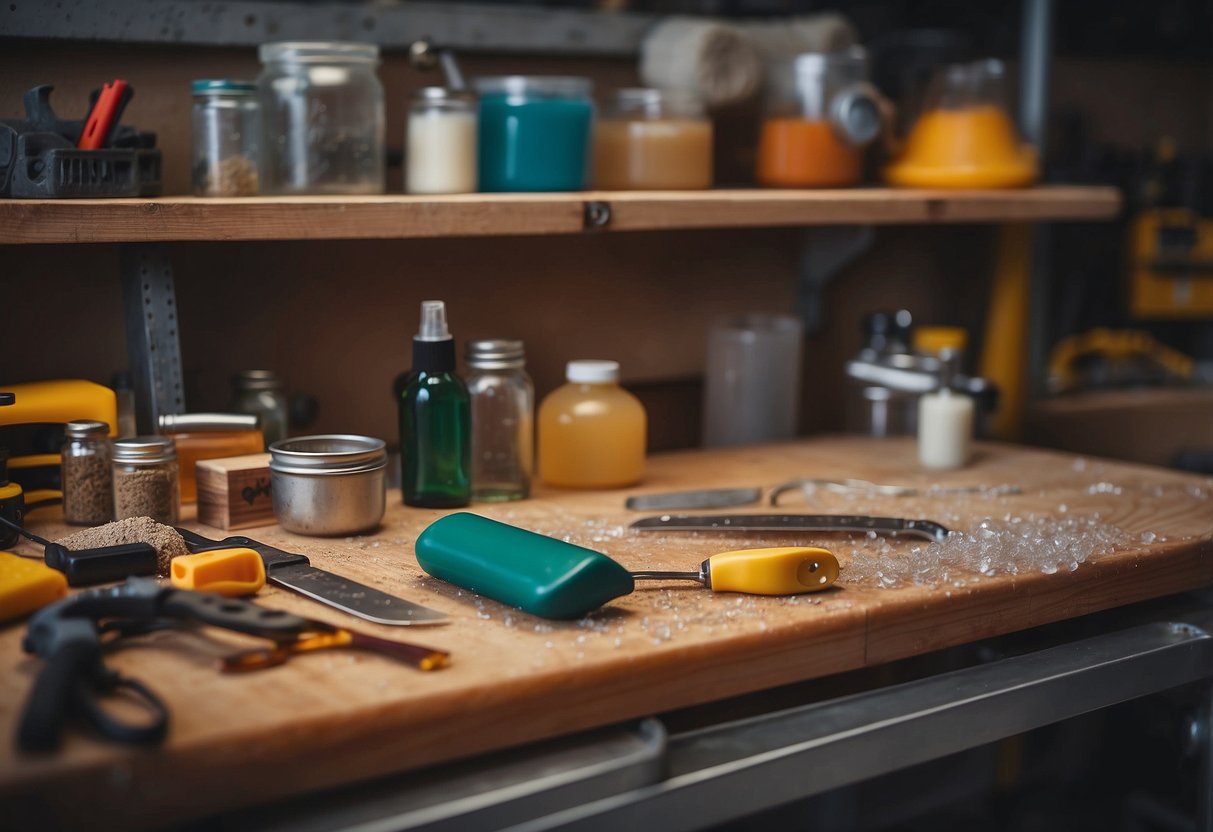
Supplementary Tools and Safety Gear
Proper tools make prop-making safer and easier. Mixing cups, stir sticks, and brushes are basic needs. Mold release helps props come out cleanly. Sandpaper and files smooth rough edges.
Safety gear is crucial. Wear gloves to protect skin from resins. Use a respirator to avoid breathing fumes. Safety glasses shield eyes from splashes.
A well-ventilated workspace is important. Some props need clamps or weights while curing. Having the right tools on hand speeds up the process and improves results.
Fundamentals of Resin and Fiberglass
Resin and fiberglass are key materials for creating durable props. They have unique properties that make them ideal for crafting sturdy, realistic objects. When combined, these materials form a strong bond that can withstand heavy use.
Properties of Resin
Resin is a versatile material with many useful traits. It starts as a liquid and hardens into a solid. This allows it to be poured into molds to create detailed shapes. Resin comes in different types:
- Polyester resin: Fast-curing and affordable
- Epoxy resin: Very strong and resistant to yellowing
- Polyurethane resin: Flexible and impact-resistant
Resin can be clear or colored. It's water-resistant when cured. This makes it great for outdoor props. Resin can be sanded and painted after it hardens.
Benefits of Using Fiberglass
Fiberglass adds strength to resin projects. It's made of tiny glass fibers woven into a fabric. Key benefits include:
- Lightweight yet strong
- Resistant to stretching and tearing
- Doesn't rot or corrode
Fiberglass comes in different forms. Mat is good for building up layers. Cloth gives a smooth finish. Roving is used for reinforcing edges.
Fiberglass can be shaped to fit complex forms. It's often used in boat building and car bodies. For props, it helps create items that look solid but are actually hollow and light.
The Resin and Fiberglass Bonding Process
Resin and fiberglass work together through a process called lamination. This creates a strong, layered material. Here's how it works:
- Mix the resin with a hardener
- Apply a thin layer of resin to the mold
- Place a layer of fiberglass on top
- Add more resin to saturate the fiberglass
- Repeat layers as needed
- Allow to cure fully
The resin flows into the fiberglass, filling tiny spaces. As it hardens, it locks the fibers in place. This creates a stiff, durable material.
Proper mixing and layering are crucial. Too little resin leaves dry spots. Too much makes the piece heavy and weak. Practice helps achieve the right balance.
Designing Your Prop
Planning your prop's design is a crucial step. It sets the foundation for the entire project and helps ensure accuracy and quality in the final product.
Creating a Blueprint
Start by sketching your prop design on paper. Draw different views - front, side, and top. Include measurements and notes about materials and textures. This blueprint will guide your work and help spot potential issues early.
For complex props, consider using 3D modeling software. Programs like Blender or SketchUp let you create detailed digital models. These can be rotated and viewed from all angles, making it easier to plan your build.
Make sure to note any moving parts or special features in your design. Think about how these elements will be constructed and attached. A clear plan helps avoid mistakes and saves time during the building process.
Size and Scale Considerations
Accurate sizing is key for realistic props. Research the real-life object you're replicating. Find its dimensions and scale them to fit your needs. If you're making a prop for cosplay, consider how it will look next to your body.
Think about practicality too. A prop that's too big might be hard to carry or store. One that's too small might not look right in photos or on stage. Test different sizes by making cardboard mockups before starting your final build.
Consider the prop's purpose. Will it be used on stage, in photos, or for close-up viewing? This affects the level of detail needed and the best size for your prop. Remember, what looks good from far away might need to be larger or more detailed for close-ups.
Preparation for Resin Work
Getting ready for resin work involves setting up a proper workspace, taking safety measures, and preparing the mold. These steps are crucial for successful prop-making with resin.
Workspace Setup
Choose a well-ventilated area for resin work. Open windows or use fans to improve air flow. Cover work surfaces with plastic sheeting or newspapers to protect them from spills. Set up a sturdy table or workbench that can handle the weight of your materials.
Gather all needed tools and supplies beforehand:
- Mixing containers
- Stirring sticks
- Measuring cups
- Gloves
- Respirator
- Safety glasses
Keep a trash can nearby for easy disposal of used materials. Good lighting is key for seeing details, so use bright lamps or work lights.
Safety Precautions
Resin can be harmful if not handled properly. Always wear nitrile gloves to protect your skin from chemicals. Use a respirator mask to avoid breathing in fumes. Safety glasses shield your eyes from splashes.
Work in a space with good air flow to reduce exposure to fumes. Keep food and drinks away from your work area to prevent contamination. Have a first aid kit on hand for emergencies.
Read and follow all safety instructions on product labels. Know where the nearest eyewash station or sink is located. Keep a fire extinguisher nearby as some resins are flammable.
Preparing the Mold
Clean the mold thoroughly with soap and water. Dry it completely to prevent moisture from affecting the resin. Check for any cracks or damage that could cause leaks.
Apply a mold release agent to help the finished piece come out easily. Brush or spray it on evenly, covering all surfaces. Let it dry fully before pouring resin.
For complex molds, consider using a vacuum chamber to remove air bubbles. This helps ensure a smooth final product. Seal any seams in multi-part molds with clay or tape to prevent leaks.
Place the mold on a level surface to ensure even resin distribution. Use shims if needed to adjust the mold's position. Double-check that the mold is stable and won't shift during pouring.
Mixing and Pouring Resin
Proper resin mixing and pouring techniques are crucial for creating high-quality props. Careful attention to detail during this process helps avoid common issues and ensures the best results.
Resin Mixing Techniques
Start by measuring the resin and hardener accurately using separate containers. Follow the manufacturer's instructions for the correct ratio. Pour the hardener into the resin and stir slowly for 2-3 minutes. Use a flat mixing stick to scrape the sides and bottom of the container.
Avoid stirring too fast, as this can introduce air bubbles. Mix in any colorants or additives at this stage. For larger batches, consider using a drill with a mixing attachment on low speed.
Dealing with Air Bubbles
Air bubbles can ruin the look of resin props. To minimize them, warm the resin slightly before mixing. This lowers its viscosity and helps bubbles rise to the surface.
After pouring, use a heat gun or torch to pop surface bubbles. Move the heat source quickly across the surface. Don't hold it in one spot too long. For deep molds, consider using a vacuum chamber to remove bubbles before pouring.
Curing Time and Conditions
Resin curing times vary based on the type of resin, temperature, and humidity. Most resins take 24-48 hours to fully cure. Place the mold on a level surface in a dust-free area.
Maintain a consistent room temperature between 70-80°F (21-27°C) for best results. Higher temperatures speed up curing but may cause shrinkage. Lower temperatures slow curing and can affect the final hardness.
Some resins benefit from post-curing. This involves exposing the cured piece to heat to improve its strength and durability.
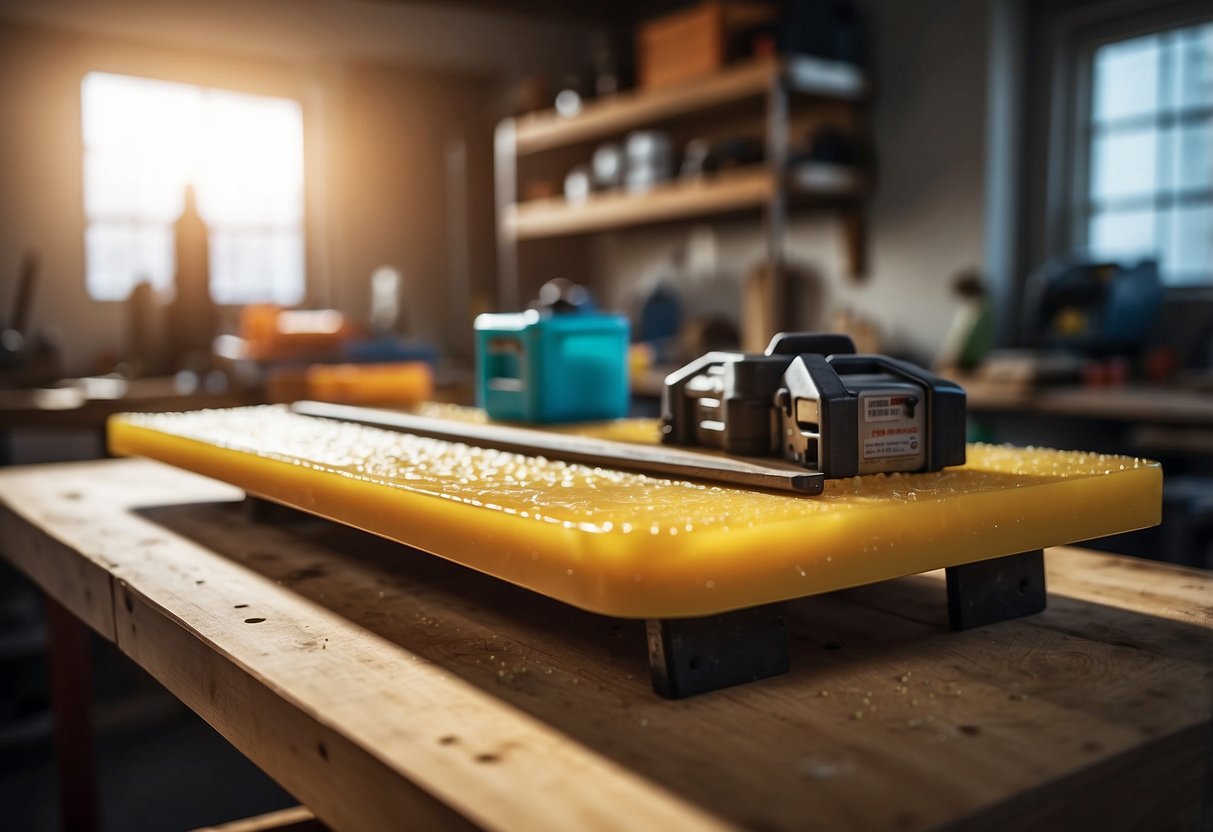
Applying Fiberglass
Fiberglass is a key material for creating strong, lightweight props. The process involves carefully layering fiberglass cloth and applying resin to build up the desired shape and structure.
Cutting and Laying Fiberglass
Start by cutting fiberglass cloth to fit your mold or form. Use sharp scissors or a rotary cutter for clean edges. Wear gloves to avoid skin irritation.
Lay the fiberglass pieces over your mold. Overlap edges by about 1 inch for strength. Smooth out wrinkles and bubbles as you go.
For complex shapes, use smaller pieces to conform to curves. Work in sections, starting from the bottom or center and moving outward.
Applying Resin to Fiberglass
Mix resin according to the manufacturer's instructions. Work in a well-ventilated area and wear protective gear.
Use a brush or roller to apply resin evenly over the fiberglass. Work in small sections to prevent the resin from setting too quickly.
Saturate the fiberglass thoroughly. Remove air bubbles by pressing with a roller or brush. Add more resin as needed to fully wet out the cloth.
Allow each layer to partially cure before adding the next. This helps prevent sagging and ensures proper bonding between layers.
Achieving the Right Thickness
Build up layers gradually to reach the desired thickness. Most props need 3-5 layers for adequate strength.
Use a thickness gauge to measure as you go. Add more layers in high-stress areas that need extra reinforcement.
Alternate the direction of fiber orientation between layers for maximum strength. This creates a crisscross pattern that resists cracking.
Sand between layers if needed to maintain a smooth surface. Clean off dust before applying the next layer of resin and fiberglass.
Finishing Details
The final steps bring your prop to life through careful trimming, painting, and optional mechanical elements. These finishing touches transform raw materials into a polished, screen-ready piece.
Trimming and Sanding
Start by trimming excess material from your cured resin or fiberglass prop. Use a rotary tool with cutting attachments to remove large sections. Switch to progressively finer sandpaper grits to smooth edges and surfaces.
Begin with 80-grit sandpaper for rough areas. Move to 150-grit, then 220-grit for a smoother finish. Wet sanding with 400-grit paper creates an ultra-smooth surface ready for paint.
Wear a dust mask and work in a well-ventilated area. Wipe the prop clean between grits to remove dust. Check your work often to ensure even sanding across the entire piece.
Painting and Sealing
Prime the prop with a plastic-bonding primer spray. Apply thin, even coats and let dry between applications. Choose paints made for plastics or acrylics for best adhesion.
Airbrush or spray paint works well for large, smooth areas. Use brushes for detailed work and textures. Build up color in thin layers for a realistic look. Let each layer dry fully before adding the next.
Seal your paint job with a clear coat. Matte finishes work well for most props. Gloss clear coats add shine for metallic or wet-look effects. Apply 2-3 light coats of sealant for best protection.
Adding Mechanical Components
Enhance your prop with moving parts or lights. Plan placement before casting if possible. Otherwise, carefully drill holes for wires or mounting points.
Use strong adhesives like epoxy to attach components. Conceal wires inside the prop or paint them to match. Test all mechanisms before final assembly.
Add switches, battery packs, or control boards as needed. Ensure easy access for maintenance. Create removable panels if components may need future repairs or upgrades.
Maintenance and Repair
Proper care and upkeep are key to keeping resin and fiberglass props in top condition. Regular cleaning, maintenance, and timely repairs can extend the life of your creations.
Cleaning Your Prop
Clean resin and fiberglass props with mild soap and warm water. Use a soft cloth or sponge to gently wipe away dirt and grime. Avoid harsh chemicals or abrasive materials that could damage the surface.
For stubborn stains, try a mixture of baking soda and water. Apply it with a soft brush, then rinse thoroughly.
Dry the prop completely after cleaning to prevent water spots. Use a microfiber cloth or let it air dry in a well-ventilated area.
Regular Maintenance Tips
Inspect your props regularly for signs of wear or damage. Look for cracks, chips, or areas where the paint may be peeling.
Store props in a cool, dry place away from direct sunlight. UV rays can cause fading and weaken the materials over time.
Apply a clear coat or sealant every few years to protect the surface. This helps guard against scratches and keeps the colors vibrant.
For moving parts, use a silicone-based lubricant to keep them working smoothly. Avoid oil-based products that can attract dirt and grime.
Repair Techniques
Small chips or cracks can be fixed with epoxy resin. Clean the damaged area, mix the epoxy, and apply it carefully. Sand smooth once dry.
For larger cracks, use fiberglass cloth and resin. Cut the cloth to size, apply resin, and smooth it over the damaged area. Let it cure fully before sanding and painting.
To fix paint chips, sand the area lightly and clean it well. Apply primer, then match the paint color as closely as possible. Blend the edges for a seamless look.
For severe damage, consider reinforcing the prop from the inside. This may involve cutting an access point, adding support, then patching it back up.
Showcase and Storage
Proper display and storage of resin and fiberglass props protect them from damage and extend their lifespan. These techniques also allow creators to show off their hard work.
Displaying Your Prop
Custom stands or mounts can showcase props effectively. Clear acrylic stands work well for smaller items. For larger pieces, wooden shelves or wall mounts offer stability. Lighting is key - use LED spotlights to highlight details. Rotate props regularly to prevent dust buildup.
Glass display cases shield props from dirt and accidental bumps. They come in various sizes to fit different items. Some cases have built-in lights for added visual appeal.
For wearable props, mannequins or dress forms make great display options. These allow viewers to see how the prop looks when worn.
Storage Solutions
Proper storage keeps props safe when not on display. Soft cloth bags protect against scratches and dust. Bubble wrap adds extra cushioning for delicate parts.
Plastic storage bins with lids keep moisture and pests out. Choose bins slightly larger than the prop to allow for padding. Label each container clearly.
Hanging storage works well for costume pieces. Use padded hangers to avoid stress on seams. Garment bags offer additional protection.
Climate control is important. Avoid storing props in damp basements or hot attics. A cool, dry area is best. Silica gel packets absorb excess moisture in storage containers.